As of 2024, the phrase "3D printing" most commonly implies using plastic filament to print layer upon layer in a resolution of about 0.5mm, using a printer below 1000€ in cost. Usually, you model a CAD of an object to print, export it as STL or other triangle mesh format, then put it into a slicer to produce a gcode file which tells the 3d printer how to steer the filament extruder.
The foremost 3d printer company is
Prusa,
which supplies the open-source prusa-slicer
Debian package,
and is known for reliable prints, good maintenance and spare parts.
They are about 1.5x more expensive than other companies,
which in turn have limited Linux support and require more
tinkering time to print objects well. As of 2024,
Bambulab
is also a good choice if you are on Windows and are ok with
fiddly maintenance.
For filament choice [guide], start with PLA which is non-toxic because it is made from corn starch and thus bio-degradable, requires lower temperatures as others, and does not droop or warp during printing; however PLA is not very flexible and not for outdoors. For those qualities, skip the more durable but toxic-fume ABS and go straight to PETG which is more flexible and also robust for outdoor use; however it is stickier, and the surfaces scratch more easily.
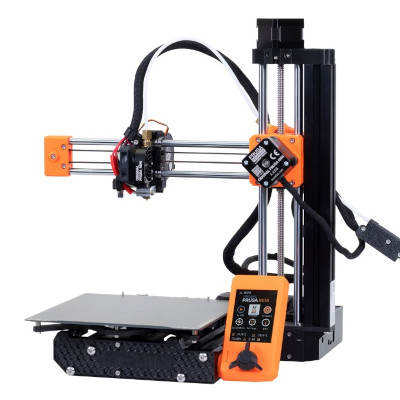
In early 2024, I bought a Prusa Mini+ because of limited space, and translucent PLA for my first keyboard build tests.
Somehow I was laboring under the assumption that "pre-assembled" (as opposed to "kit") meant "correctly pre-assembled", however I had to look up the kit build instructions a number of times:
After setup [build] [firmware] and self-tests, the extruder would move gears but not grab the filament correctly [forum]. The remedy included extruder disassembly, re-assembly [vid] with a filament segment in the tubes, and somewhat loose release of the idler screw (Spannschraube); just loosening the idler screw as stand-alone measure did not help. Also, sharpening the filament tip as outlined in the manual was a mistake, a 90° cutoff goes in much better.
Next thing was that during "first layer calibration" [docs], even with minimum Z setting of -2.000, the nozzle was too far away from the plate [forum]. The nozzle is supposed to slightly flatten the just extruded filament dot. The remedy included adjusting the PINDA sensor [vid] on the hotend to be a bit higher, as it was far too low relative to the nozzle; the sensor should be 1mm higher than the nozzle tip.
With that, the first test print went well, a whistle from the USB stick that came with the printer, needing 30 minutes.
With prusa-slicer started,
under Configuration→Configuration Wizard
click through everything while ignoring all the unused printers.
Then Ctrl+i (File→Import→Import STL)
your STL file.
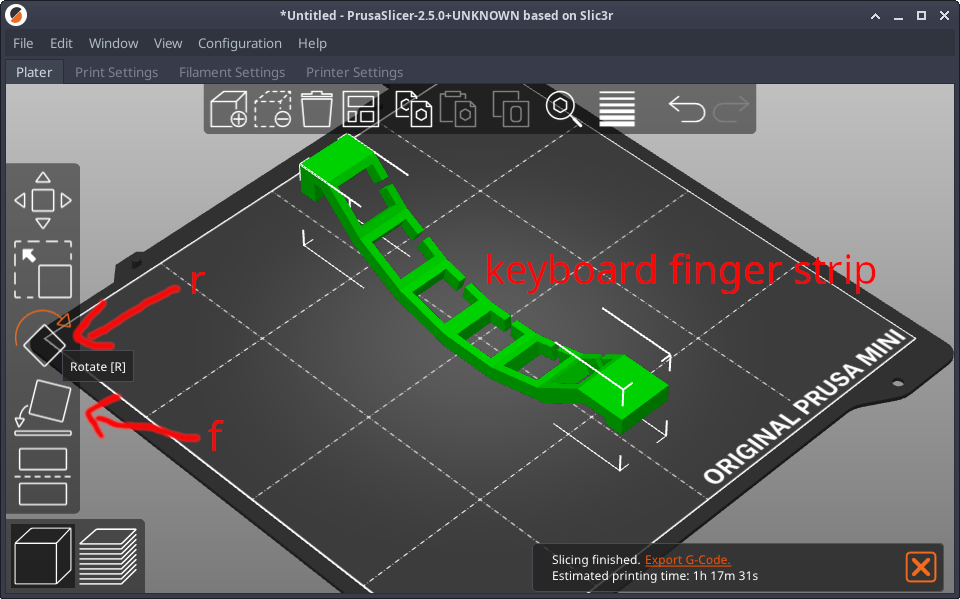
prusa-slicer rotate functionIn the left side panel, use f (Face on plate) to determine which side you would like to have at the bottom, then r (Rotate) directly above to rotate the object to lie diagonally on the plate, which minimizes printer movements. When you are done positioning, Ctrl+6 for a slice preview (and Ctrl+5 to get back).
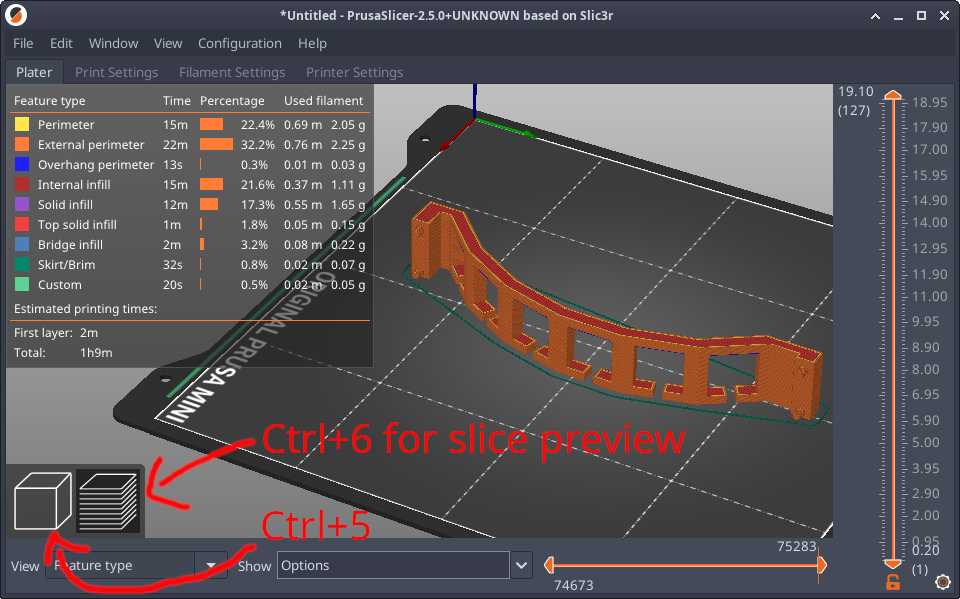
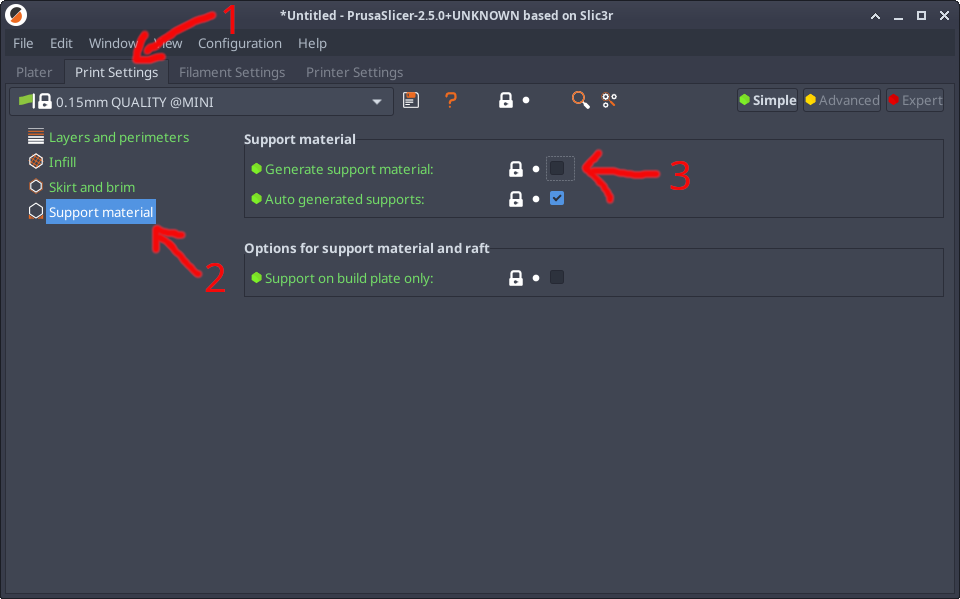
prusa-slicer preview functionUsing the orange sliders at the bottom and at the right side, we can look at what the printer head would do at different slices. Under the "Print Settings" tab (we have been under "Plater") we can switch on "Generate support material" when a bridge cannot be spanned by a molten filament thread; switch back to "Plater" tab, Ctrl+5 then Ctrl+6 to update the preview.
prusa-slicer print (not printer!)
settingsAnd finally, we can Ctrl+Shift+g (File→Export→Send g-code) if the Prusa Mini+ is attached to the local network. Might require adding a physical printer under the "Printer Settings" tab. Alternatively, exporting to g-code file on an USB stick and going to the printer will also work. And then, hopefully the print will start!
EOF (May:2024)